
Bathroom Grab Bar Installation: A Complete Guide
Learn where to install grab bars, weight capacity standards, and installation methods that work for renters and homeowners alike.
12 min read
Beginner
March 2026
Why Grab Bars Matter More Than You Think
Bathroom falls aren't just inconvenient — they're serious. We're talking about slips on wet tile, reaching for something just out of arm's reach, or that moment when your balance feels off. Installing grab bars isn't about admitting you need help. It's about taking control of your safety.
The good news? You don't need a contractor. Most people can install grab bars in an afternoon with basic tools. Whether you're renting or own your home, there's a solution that works for you. This guide walks through everything — from figuring out where to put them, to choosing the right type, to the actual installation process.

Where to Install Grab Bars: The Strategic Spots
There's actually a science to placement. You don't just throw bars everywhere — you put them where people naturally reach when they're most vulnerable. That moment when you're stepping into a slippery tub? That's where bars make the difference.
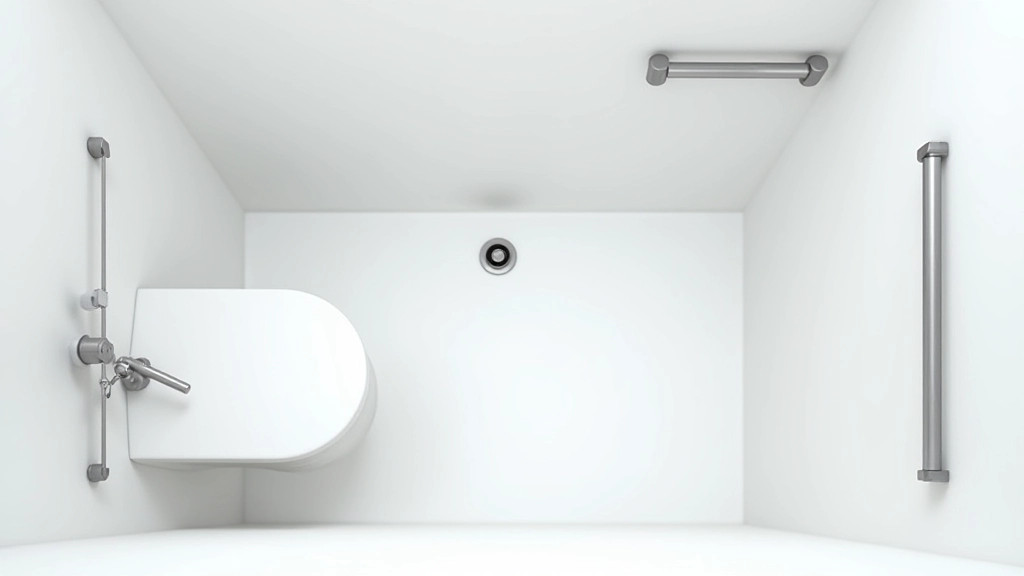
The Essential Locations
- Bathtub/shower entry: Vertical bar on the wall beside the tub opening, plus a horizontal bar at 33-36 inches from the floor
- Inside the shower: One bar horizontally at shoulder height (48 inches from the floor), plus another at grab height (38-42 inches)
- Toilet area: Horizontal bar on the side wall 33-36 inches up from the floor, extending 24-36 inches
- Near the sink: Optional but helpful, especially for stability while washing
These measurements come from ADA standards, but they're based on actual human anatomy. A 36-inch height works for most people — it's roughly where your hand naturally falls when your arm's at your side.
Weight Capacity and Safety Standards You Need to Know
Here's where people get nervous. "Will this bar hold me?" The answer is yes — if you buy the right one. Grab bars aren't fancy. They're engineered specifically for safety, and they're tested way beyond what most people weigh.
ADA Standard: Every grab bar must support a minimum of 250 pounds of force. Most quality bars hold 300-500 pounds. That's not the bar's weight limit — that's the force it can handle in any direction. Someone pulling hard, slipping suddenly, full body weight — the bar absorbs it.
When you're shopping, look for bars marked "ADA compliant" or that specifically state their weight capacity. Most reputable manufacturers (Moen, Kohler, Delta) are all solid choices. Don't buy unmarked bars from unknown sellers — the $8 difference isn't worth the risk.
The other thing? Diameter matters. Bars come in 1.25-inch and 1.5-inch diameters. Thinner bars (1.25") are actually better — they're easier to grip. Your hand fits around them naturally. Anything thicker and your grip weakens because you can't close your fingers properly around it.
Installation: The Step-by-Step Process
Installation isn't complicated, but it does matter that you do it right. A grab bar isn't decorative — it's load-bearing. So you're not just screwing something to drywall. You're anchoring it securely into the wall structure.
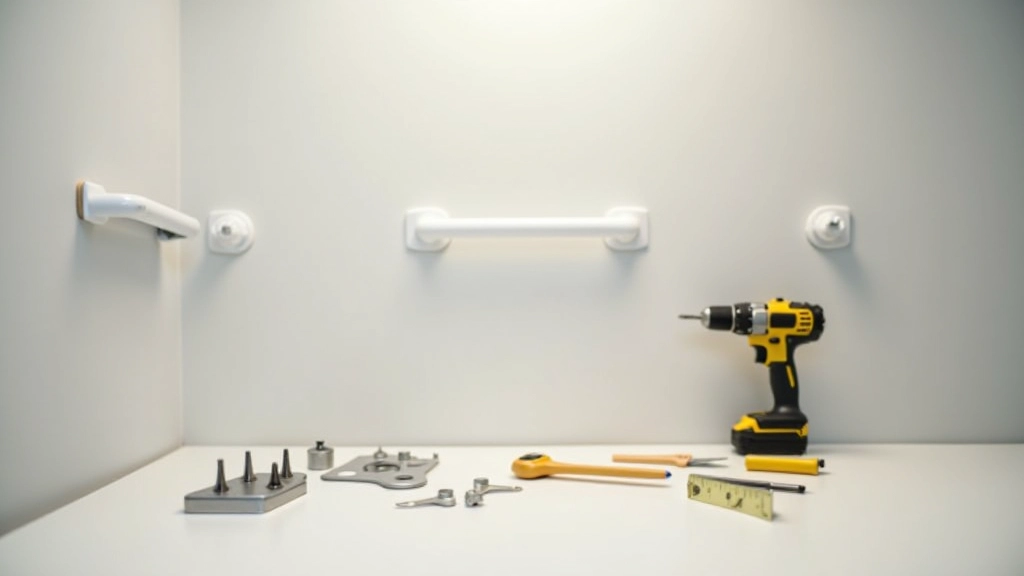
What You'll Need
- Stud finder (or the knock-and-listen method if you're old school)
- Drill with bits matching your bar's mounting holes
- Level (this part matters — a bar that's tilted feels unstable)
- Wall anchors (if not hitting studs directly)
- Screws that came with your bar (don't substitute)
The Installation Process
- Find the studs. Use a stud finder to locate wall studs behind the tile. Mark them with a pencil. Studs are your best option — they provide solid support. If studs don't line up with where you need the bar, you'll use heavy-duty anchors instead.
- Mark mounting points. Hold the bar up where it'll go. Mark the screw holes with a pencil. Use a level to make sure the bar's actually level — not tilted. This takes 30 seconds and makes a huge difference in how it feels.
- Drill pilot holes. Use a drill bit slightly smaller than your screws. This prevents the tile from cracking. Go slowly through tile — high speed makes it jump around.
- Install anchors if needed. If you're not hitting studs, you'll use wall anchors. Heavy-duty toggle bolts or expansion anchors work best in tile. These spread out behind the wall and distribute the load.
- Screw in the bar. Use the screws provided with your bar. Tighten firmly but don't overtighten — you can crack tile or strip the mounting bracket.
- Test it. Grab it hard. Pull it in different directions. It shouldn't budge. If it feels loose, something's not right — loosen it and check your work.
The Renter's Dilemma: Solutions That Don't Damage Walls
Renting and need grab bars? It's not impossible — you've just got different options. You're not going to drill into your landlord's tile, but there are solid alternatives that actually work.
Suction Cup Bars
These stick to tile or shower walls using powerful suction. They're not permanent, which is the point. The catch? They work best on perfectly smooth, clean tile. Any texture or slight imperfection weakens the seal. Weight capacity is lower — usually 200-250 pounds — but for many people that's fine. They take about a minute to install and zero seconds to remove.
Adhesive-Mounted Bars
Heavy-duty construction adhesive or mounting strips (like 3M's Command strips) can hold a grab bar on tile. You clean the tile thoroughly, apply the adhesive, and press the bar's mounting brackets into place. It cures over 24 hours and becomes surprisingly strong. The advantage? When you move out, you can carefully peel off the adhesive without damaging the tile.
Tension Bars
Some bars work like a shower curtain rod — they clamp between two walls using tension. These work in corner installations (like inside a shower stall). They don't require any drilling or adhesive. They're less common and have limitations, but for specific setups they're perfect.

Material Matters: What Actually Lasts
Not all grab bars are created equal. The bathroom is harsh — constant moisture, temperature changes, soap, shampoo. You want material that won't rust or corrode.
Stainless Steel (Best Choice)
Stainless steel is the standard for good reason. It resists rust, won't corrode, and handles moisture without any issues. It's durable and looks clean. Price? Mid-range, usually $25-50 per bar. This is what you want unless you have a specific reason not to use it.
Chrome-Plated Steel
Chrome looks shinier and more decorative than stainless. It's also cheaper — sometimes $15-30 per bar. The downside? The chrome coating can chip or peel over time, exposing the steel underneath, which then rusts. It's not a disaster, but it's maintenance you'd rather avoid.
Brass and Brushed Finishes
Brass looks elegant and actually resists corrosion pretty well. It's more expensive ($40-70 per bar). Brushed finishes hide water spots better than polished finishes, which is practical in a bathroom.
Bottom line? Stainless steel is reliable. It won't let you down, and it fits any bathroom aesthetic.
Safety Isn't Optional — It's Just Smart
Installing grab bars isn't giving in to age or admitting weakness. It's being practical. You don't drive without a seatbelt. You don't climb a ladder without checking it first. Grab bars are in the same category — they're basic safety equipment that prevents injuries.
Whether you're installing them for yourself or a family member, the process is straightforward. Measure twice, drill carefully, use proper anchors, and test your work. A couple hours of effort now prevents a fall that could mean weeks in recovery later.
And if you're renting? Don't let that stop you. Suction cups and adhesive-mounted bars work well enough for most situations. Your safety matters more than a security deposit.
Ready to Get Started?
Grab bars are inexpensive, straightforward to install, and make a real difference. Pick your locations, grab your tools, and make your bathroom safer today.
Explore More Home Safety ResourcesDisclaimer
This guide provides general educational information about bathroom grab bar installation. Installation methods, safety standards, and building codes vary by location and may have changed since publication. Before beginning any installation work, verify current ADA accessibility guidelines and local building codes that apply to your area. If you're unsure about installation, have structural concerns, or need to work with specific accessibility requirements, consult a licensed contractor or occupational therapist. This information isn't a substitute for professional assessment of your individual safety needs.
Related Articles
Smart Home Monitoring Systems for Independent Living
Discover motion sensors, fall detection, video doorbells, and health monitoring systems that provide peace of mind.
Read More
Accessible Kitchen Design: Making Cooking Easier
Counter heights, cabinet organization, appliance placement, and lighting considerations for kitchens that work for everyone.
Read More