
Accessible Kitchen Design: Making Cooking Easier
Transform your kitchen into a space that works for everyone. Learn about counter heights, cabinet organization, appliance placement, and lighting that accommodate different abilities.
Why Kitchen Accessibility Matters
The kitchen's often the heart of the home. But if you're managing mobility challenges, arthritis, or vision changes, cooking can become frustrating or even unsafe. The good news? You don't need a complete renovation to make real improvements.
We've worked with occupational therapists and homeowners to identify the design changes that actually make a difference. Small adjustments to counter heights, storage placement, and lighting can mean the difference between enjoying cooking and avoiding the kitchen altogether.
Counter Heights & Knee Space
Standard counters sit at 36 inches — fine if you're standing, not great if you're sitting or have limited reach. Accessible design calls for at least one work surface between 30-34 inches high. This isn't just for wheelchair users. Shorter heights help anyone with balance issues, arthritis in their shoulders, or anyone who gets tired standing.
The real game-changer? Open knee space underneath. If you can roll or sit closer to the counter, you've got better leverage and stability. You'll need at least 27 inches of clearance from the floor up, with about 19 inches of actual space under the counter.
Quick Reference: Counter Heights
- Standard counter: 36 inches
- Accessible counter: 30-34 inches
- Prep/baking counter: 28-32 inches
- Knee clearance needed: 27 inches minimum
Cabinet Organization & Storage
High cabinets look neat. They're also useless if you can't reach them safely. You don't need to redesign everything — strategic changes make the difference. Keep your most-used items between 20-60 inches from the floor. That's within comfortable reach for most people, whether standing or sitting.
Open shelving beats cabinet doors for accessibility. You can see what you need, grab it without struggling with hardware, and there's no pinching hazard. If you're replacing cabinetry anyway, consider pull-out drawers — they bring items forward so you don't have to reach to the back.
Storage Placement Tips
1
Everyday items at eye level (20-60 inches from floor)
2
Avoid top shelves and deep cabinets
3
Use D-rings or easy-grip handles instead of knobs
4
Install lazy Susans in corner cabinets

Smart Appliance Placement
Where you place appliances matters as much as which ones you choose. Cooktop controls should be on the front or side, never at the back. You shouldn't have to reach across hot burners to turn them off. Wall-mounted ovens at chest height beat traditional models — less bending, safer operation, and you can see what's cooking without struggling.
Refrigerator doors that swing outward fully are essential. Side-by-side models work better than top-freezer styles — the freezer and fridge sections sit at better heights. Look for refrigerators with pull-out shelves that bring items toward you automatically.
Pro tip: A microwave mounted at 36-42 inches high lets you heat items without heavy lifting or stooping. Wall-mounted models free up counter space too.
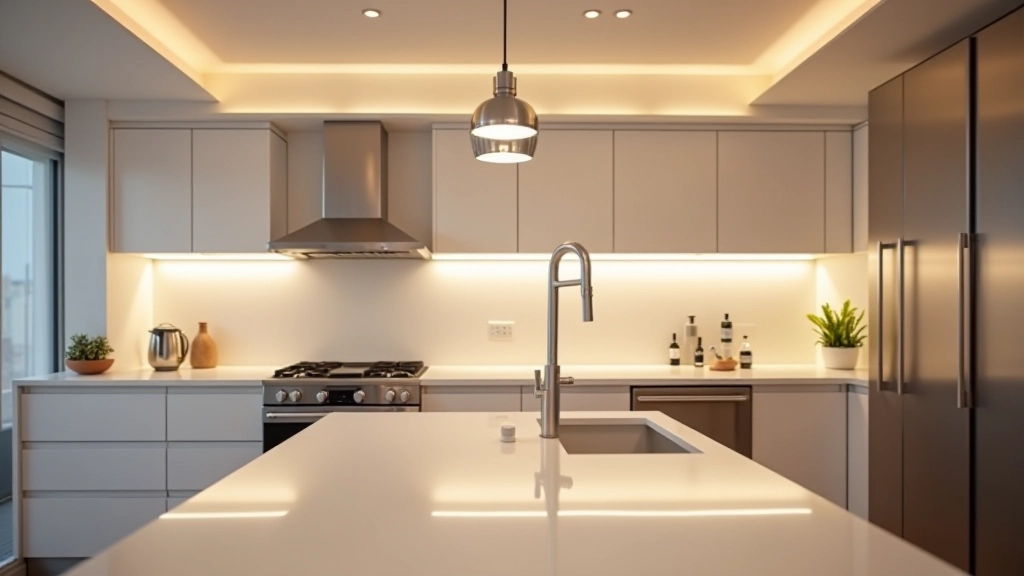
Lighting for Safety & Visibility
Bad lighting hides hazards and makes cooking harder. You're not just making the kitchen brighter — you're creating layers of light that work together. Overhead general lighting sets the baseline, but task lighting over counters and the stove is where the real work happens.
Consider anyone with vision changes as you plan. Older eyes need more light and better contrast. Aim for 50-75 foot-candles (lumens per square foot) on work surfaces. LED fixtures are your friend here — they're bright, long-lasting, and generate less heat than traditional bulbs.
Lighting Layers to Install
- General lighting: Ceiling fixtures for overall visibility
- Task lighting: Under-cabinet LED strips over prep areas
- Accent lighting: Pendants over the island or breakfast area
- Switches: Wall switches near entrances plus pull-chain or motion-sensor options
Hardware & Fixtures That Make a Real Difference
Small details add up. The right handles, faucets, and fixtures mean less frustration and safer cooking.
Cabinet Handles
D-rings and pull handles beat knobs. They're easier to grip with limited hand strength and work well for people with arthritis. Install them at a consistent height so you don't have to hunt for them.
Faucets
Single-lever faucets with lever handles are far easier than double knobs. Touch-activated or motion-sensor options eliminate the need for gripping. Look for long spouts that reach into large pots easily.
Drawer Slides
Full-extension slides let you see and reach everything in a drawer without fishing around. Soft-close mechanisms prevent pinched fingers and slamming.
Switches & Controls
Large rocker switches are easier than toggle switches. Motion sensors and voice controls reduce the need to use your hands. Install switches 36-48 inches from the floor for comfortable reach.
How to Start Your Kitchen Modifications
You don't need to tackle everything at once. Here's a practical approach to prioritize changes.
01
Assess Your Current Setup
Spend a week cooking normally. Notice what's hard. Is it reaching high cabinets? Turning knobs? Seeing the stove clearly? Make a list. Your biggest pain points are where to start.
02
Start with Quick Wins
Replace cabinet knobs with easy-grip handles. Add under-cabinet lighting. Reorganize storage so everyday items are at eye level. These changes cost $200-500 and make an immediate difference.
03
Plan Larger Projects
Counter height adjustments and appliance repositioning take more planning. Get quotes from contractors familiar with accessible design. Many offer free consultations to assess your space.
04
Test & Adjust
After each change, cook in your kitchen for at least a week. Does the new counter height work? Is the lighting enough? Make adjustments before moving to the next project.
Creating a Kitchen That Works for You
Accessible kitchen design isn't about making your space look "medical" or losing style. It's about creating a functional space where you can cook safely and comfortably. The best design is invisible — you'll just notice that cooking feels easier.
Start with the changes that address your biggest frustrations. Layer in improvements over time. You'll be amazed how small adjustments to counter heights, lighting, and storage transform your relationship with cooking. Your kitchen can be both beautiful and accessible.
Ready to explore more home modifications? Check out our complete guides on grab bar installation, stair lifts, and smart home safety systems.
Explore Home Safety ResourcesRelated Articles

Important Information
This article provides general information about accessible kitchen design principles. Every home and person's needs are different. Before making structural changes, consult with a licensed contractor or occupational therapist who specializes in accessible design. Building codes and requirements vary by location. Always check your local building department for specific requirements. For medical concerns related to mobility or safety, speak with your healthcare provider or a certified occupational therapist.